Filter Effects
1. Once you have a sphere with a cast shadow created from video, duplicate the sphere (Option + drag), reduce size and place on top of the original sphere so that it looks like a snowman.
2. Select both objects (you can group if you want) and open up "Effects Gallery" from top menu.
3. Reduce size of image if necessary and apply all the effects to the snowman.
2. Select both objects (you can group if you want) and open up "Effects Gallery" from top menu.
3. Reduce size of image if necessary and apply all the effects to the snowman.
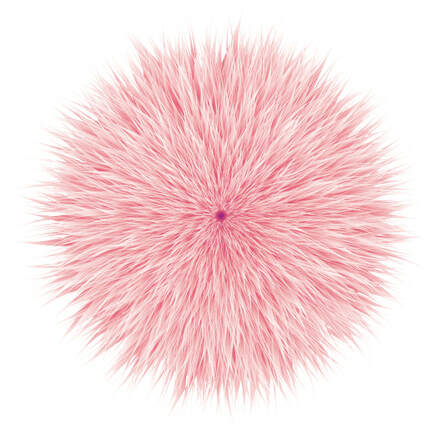
Textured Puff
1. Open a new document.
2. Select the star shape, click on BG and make it 32 points with a white fill and gradient outline.
3. Create a small sphere with a radiant gradient, change color so its white on the right side of scale.
4. Apply color to the star shape, remove outline.
5. Using Direct Selection tool, round out points of star to .15
6. Select star > Edit > Copy > Edit > Paste in Front, reduce size to 0.37 while holding Shift and Option keys.
7. Obejct > Blend > Blend Options:
Spacing > Specific Steps > 100
Orientation > Align to path (second button)
8. Object > Blend > Make
9. Effect > Distort & Transform > Pucker & Bloat > Move slider to -17 (make sure preview window is checked to see effect)
10. Effect > Distort & Transform > Roughen > Check Relative, Smooth and Preview > Slide Detail to 0 > Adjust Size slider to to your liking.
Student Work
|
|
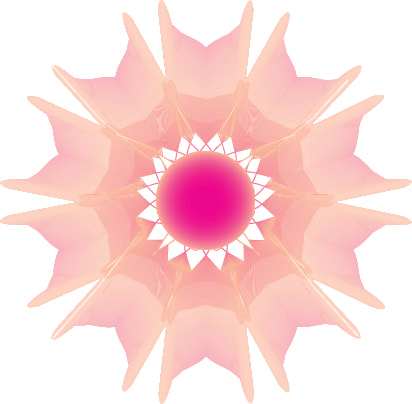
Flower
1. Create a circle 86px x 86px and align with center of artboard.
2. Create a star shape Radius 1 - 133px Radius 2 - 63px with 10 points.
3 Create a second star Radius 1 - 185px Radius 2 - 122px with 10 points.
4. Select all the end points (hold Shift) of the outer star with the Direct Selection tool > convert to smooth curves (top menu bar > Convert > second button)
5. Repeat steps with inner star shape.
6. Using the Anchor Point tool (under Pen tool), adjust outer star bottom curves with handles, pull out slightly to round.
7. Select all 3 shapes and change stroke weight to 0.3pt.
8. Select outer star and add color radial gradient to the stroke, repeat with inner star with a darker version of color.
9. Select circle, add color radial gradient to the stroke, adjust color slider location.
10. Select all 3 shapes > Object > Blend > Blend Options:
Spacing - Specified Steps: 400
Orientation - Align to Page (first button)
11. Object > Blend > Make
12. Effect > Distort & Transform > Pucker & Bloat > 60%
13. Effect > Distort & Transform > Zig Zag (15px, 7 Ridges, Absolute, Smooth Points)
14. Fill the center by adding a new circle with a radial gradient, make sure each swatch is set to 0% opacity.
|

|
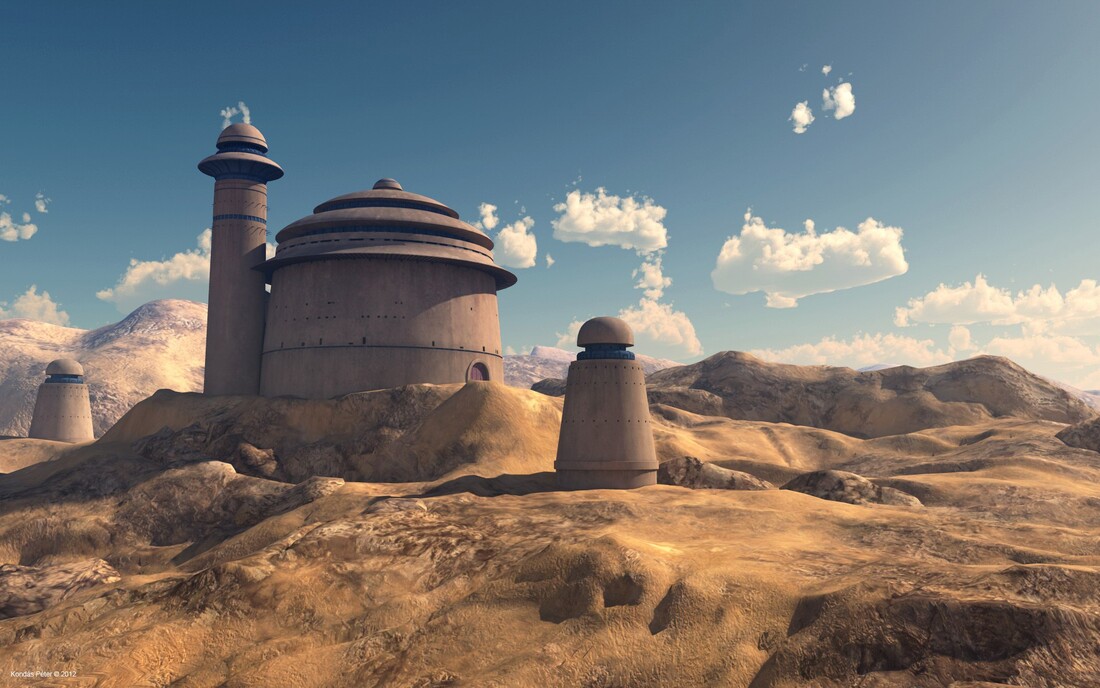
Stylized landscape with textural elements
How to make a scatter brush (for stars, field of flowers, etc.)
1. Create a dot (for stars) or use a .jpg image of flower.
2. Select object and press F5 to get brushes palette.
3. Click on new layer icon (next to garbage) and select Scatter Brush in window.
4. Press OK and name it in the pop up window.
5. Draw random strokes with brush tools, then deselect it!
6. Double click on brush icon to get Options, make sure preview is on. Move sliders to change the look of the stars.
7. In pop up window, "Apply to strokes"
8. For more stars duplicate strokes and lower opacity for distant stars.
9. To delete stars in unwanted areas, select outline (Cmd + Y), select all the strokes > Object > Expand Appearance > View > Outline ungroup the ones you want to delete, hit delete.
10. You can change blend mode if you wish.