
- Open up Star Wars Photoshop folder from Google Classroom and download to desktop..
- Open up Photoshop App from Launchpad.
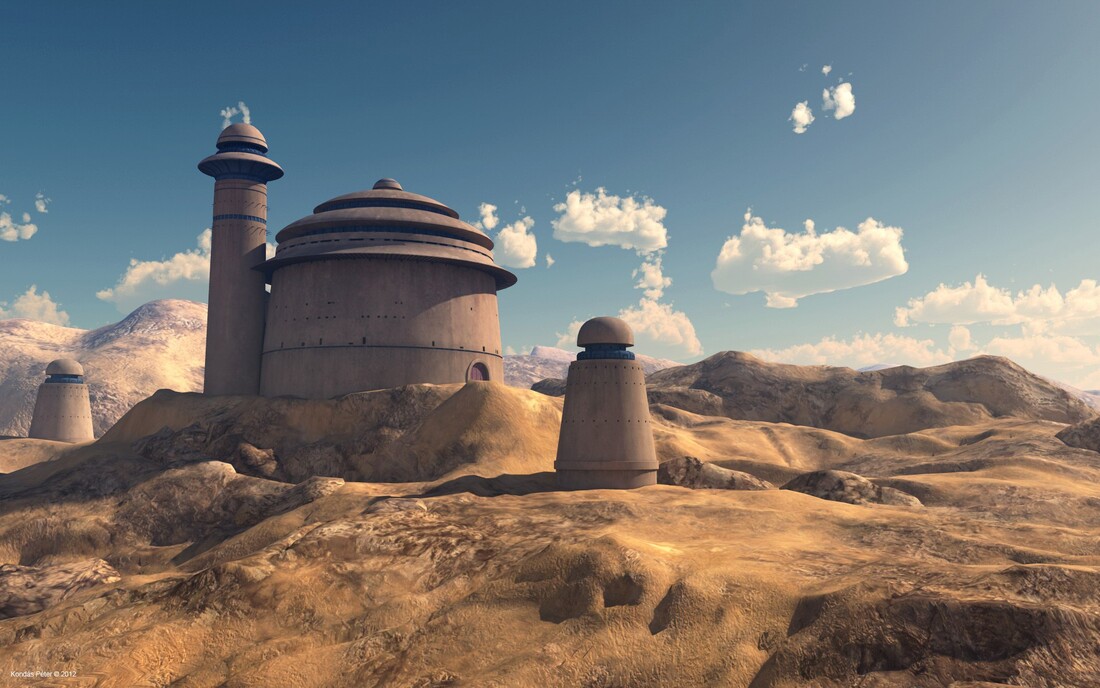
- Drag Landscape image into Photoshop workspace.
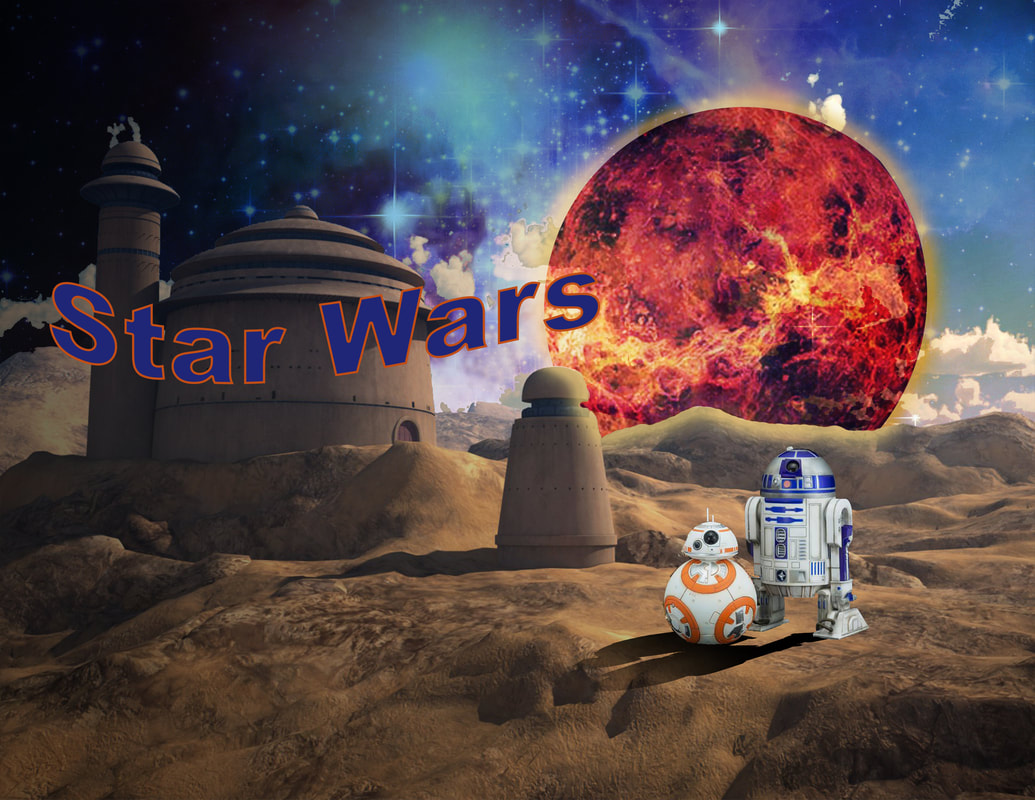
- Crop document 8.5” width x 11” height so that it looks similar to sample project
- Title it with “YourNameStarWars”
- Command + S to SAVE, VERY IMPORTANT!! Save in YOUR folder in the Classroom folder!!
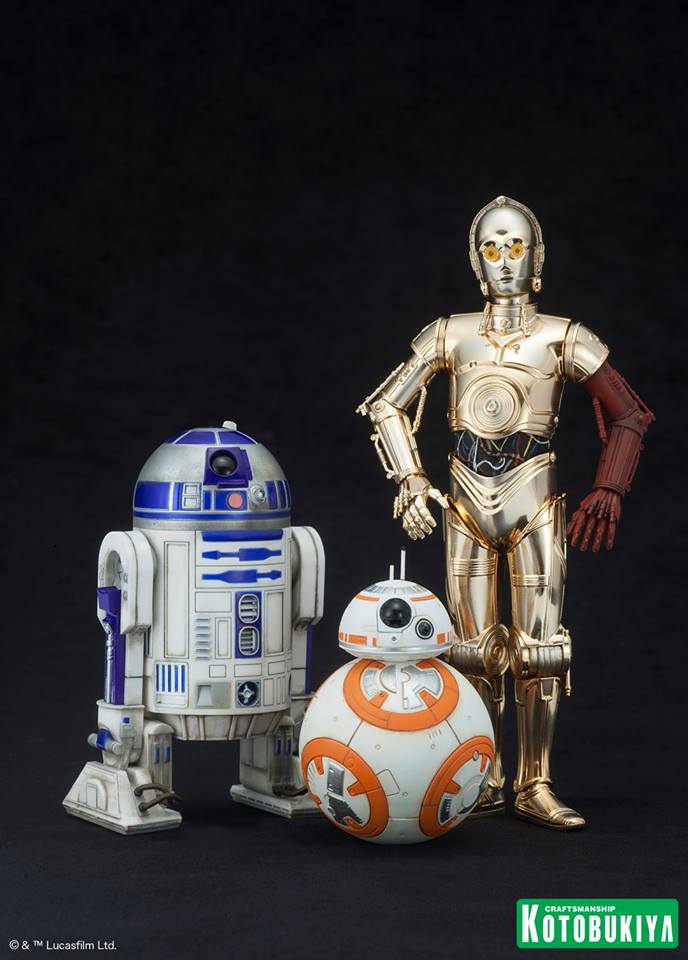
- Drag Droid image into document, hit RETURN key to apply image and remove bounding box. Resize (cmd + T) and reposition (move tool).
- On Droid layer, click “layer mask” (bottom of layers palette, 3rd icon from left – “Japanese Flag”) another rectangle will be linked on the Droid layer. Click on it to highlight.
- Press B on keyboard to get brush, adjust size with brackets to the right of “P” [ (smaller) and ] (larger). Make sure to use a hard edge brush (top menu>brushes inverted triangle>)
- Set color palette by clicking D (for default) on keyboard, black should be in front, white behind.
- “Paint” away background, you should see the bright color appear as background is eliminated. If you need to get into tight spaces, press Ctrl then click + to enlarge (- to reduce) size of image. If you accidentally paint away too much, hit “X” on keyboard, white will now be in front. Paint over the figure to get is back. Your color background should show through.
- SAVE!!
- Duplicate Droid layer by dragging it to new layer icon. Rename “Shadow”
- On the Shadow layer, Image>Adjustment>Brightness/Contrast, slide Brightness all the way to the left so that image is black. If it’s not, Image>Adjustments>Exposure, pull slider all the way to the left.
- Cmd + T to get bounding box, then press ctrl + click mouse inside bounding box to get drop down menu> flip vertical, “right click” to get drop down menu again> select skew to create an elongated shadow. Use a soft edged eraser at 20% opacity to lighten shadow furthest from droids.
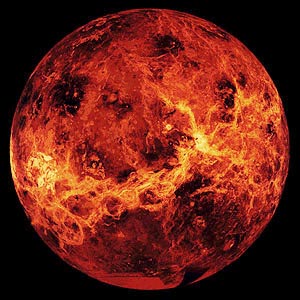
- Drag in the Planet image, name it “Planet”. Select Shape marquee tool (click and hold to choose oval). Hold down Shift, drag mouse from upper left edge of planet to create a circle around it. If it needs to have a size adjustment, Cmd + T to resize and position. Once its around the planet, click Select > Inverse, then press delete so background disappears. Re-size and place slightly below horizon line. Change opacity to around 50% so you can see mountains through planet image. Using a layer mask, “paint” away part of planet that should be behind mountain (see step #16) When complete, increase opacity to 80%
- Click on fx on bottom of layers palette. Select “Outer Glow”, change blend Mode to Normal, Opacity to 80%, spread to 20%, and size to 100%.
- SAVE!!
- Open “Outerspace” image, drag onto main document.
- Re-size to cover entire sky. Click on Landscape layer and select Magic Wand. Click on a building, to add to the selection, press Shift and continue clicking on buildings and clouds. Once you have selected everything that you don’t want the stars to cover, click on the Outerspace layer and press delete. Change layer blend mode (directly beneath “Layer” tab) to Overlay.
- SAVE!!
- Make a new layer by clicking on double square at bottom of layers palette.
- Click on the “T” in the toolbox, position cursor of the left side of document.
- Type “Star Wars” and change font and point size like you would a Word document, highlight text, then change in upper tool bar.
- With text highlighted, click on color swatch and the cursor should change to eye dropper tool, click on a blue from the sky.
- With the type selected, press T curved arrow (next to color swatch). Choose “Flag” in pop-up window, use sliders to distort text.
- Click on fx on the bottom of layers palette, choose “Stroke”. Click on color swatch to choose color (orange from BB8). Change position to outside, size and opacity can be adjusted to what you think looks best.
- SAVE!!
- Click on Landscape layer, Filter > Render > Lighting Effects. Position center of light over planet image, “pull” on squares to adjust the size and proportion of oval. Light should look like it is emanating from the planet.
- SAVE!!
