- Go to website (mrsseckler.weebly.com) > Creative Suite > Blend Modes.
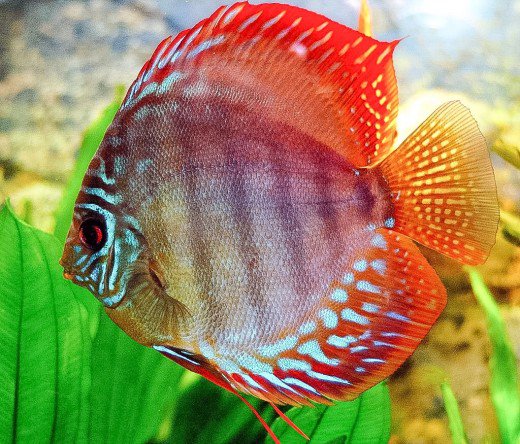
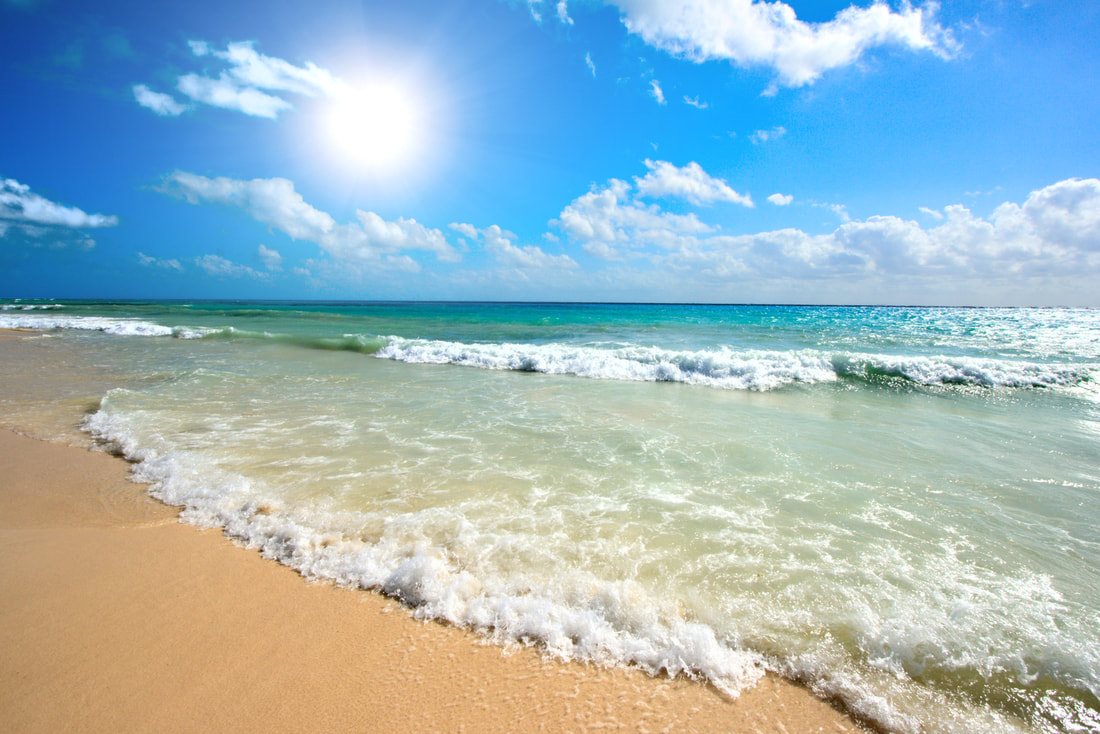
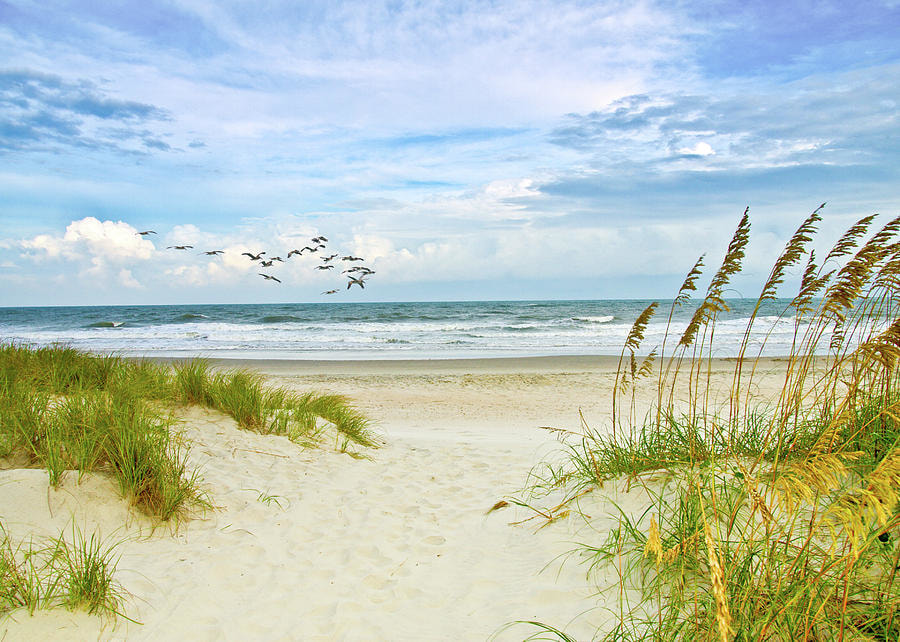
- Select one beach image and one fish image, drag to desktop.
- Launch PS and open 8.5’ x 11” document. Make sure you have Rulers open and “Grab” a guide from the left side. Drag until it reaches 2” from left margin.
- Drag in Beach image > resize to 2” width using guideline measurement (hold Shift to keep proportions)
- Move image away from top and left edge so a little white is visible.
- Cmd + J 3 times to duplicate image, move each over to the right (make sure to click correct layer) so there is a row of 4 images across top. Use arrow keys to space them evenly.
- Click the “eye” off white BG in layers (you should see gray & white checkerboard pattern behind images).
- Click on “3 line” icon in upper right corner of layers palette > Merge Visible.
- Press Cmd + J to duplicate layer 6 times (you should now have 7 layers of the 4 images, the original and 6 copies)
- Drag each down and reposition so that all are evenly spaced. There should be some extra room at the bottom of the page.
- Merge all layers together – see step 8.
- Reposition the merged layer so that it is centered on the page, click “eye” on.
- Drag in “Fish” image, resize so that it fits on top of SECOND beach image. Don’t hold Shift, you might have to distort image slightly so that it covers entire image.
- Ctl + J to duplicate, drag on top of THIRD Beach image.
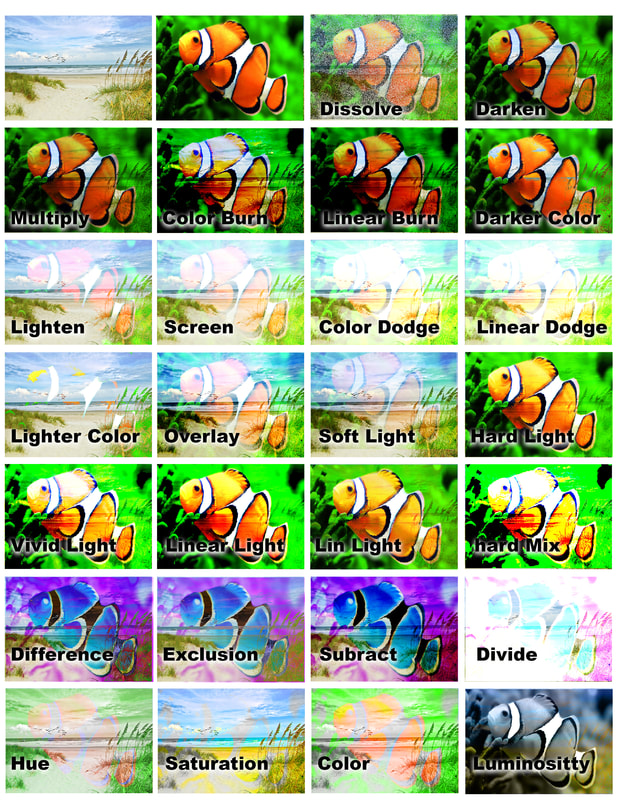
- Name the layer Dissolve
- In Layers palette near the top, change “Normal” to Dissolve in drop down menu, change opacity to 50 % with slider.
- Cmd + J to duplicate, reposition over next Beach image, name layer “Darken”, change blend mode to Darken. You will have to increase opacity slider to 100%.
- Repeat these steps for each Blend Mode, you should have the exact amount of Beach images for all the modes.
- Make a new layer, select Text tool. Make sure “Left Justification” is selected.
- Use a plain font (Arial) and 16-20 pt. size Black text.
- Place cursor near left bottom corner of first image.
- Space bar until you get to Dissolve image, type Dissolve.
- Space bar to next image and type Darken.
- Press return several times until the cursor moves down to the bottom left of 5th image.
- Type Multiply, continue this so that each image is properly identified, use the layer names as a guide.
- After all the names are typed over the correct images, use an effect (fx) – drop shadow, outline, etc. in a contrasting color so that you can easily read the words.
|
|
