How can we recreate the shapes, colors and textures we see in our circle cutout by layering and blending colors?
Procedure:
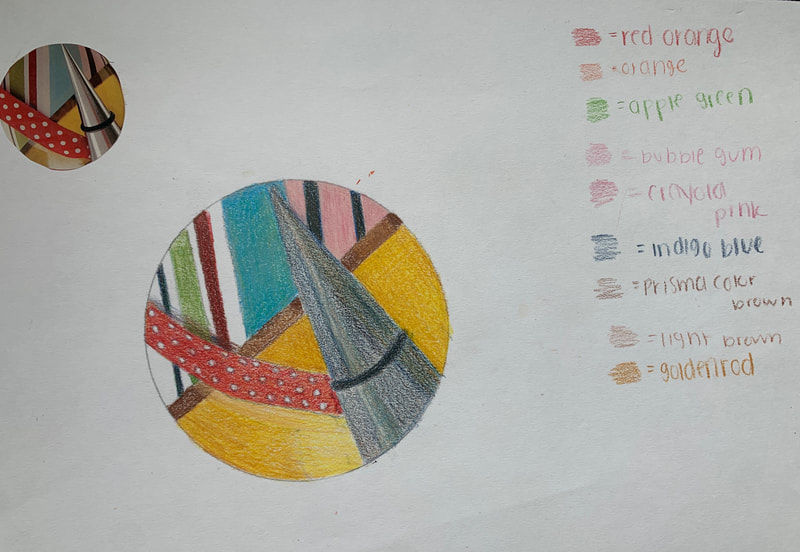
1. Choose a magazine circle cutout.
2. Glue the circle to your template paper with a glue stick.
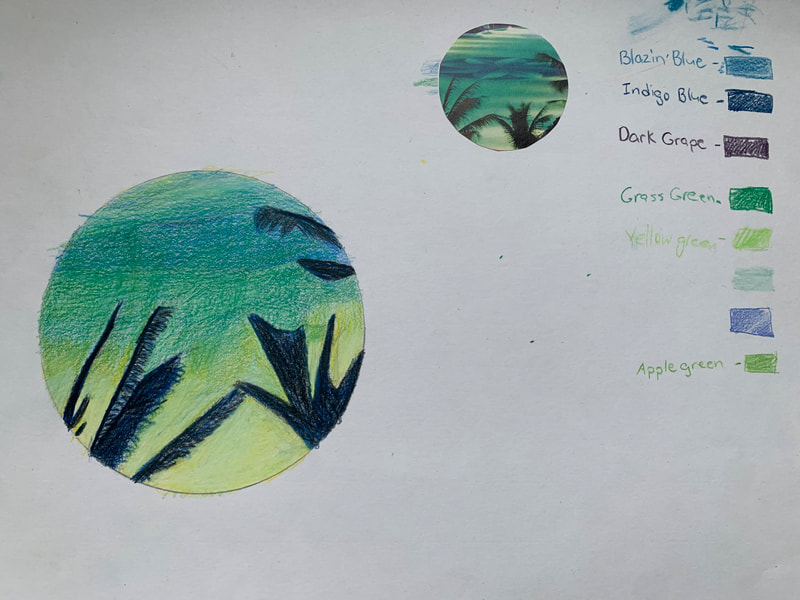
3. Looking very closely at your photo, use an HB pencil to very lightly draw in the shapes within your design. **Note: if you use a dark pencil or mark it will interfere with your colored pencil colors. If you press too hard with your pencil you will carve little valleys into your paper and the colored pencil will not sit properly on the page, leaving white lines. Look for shapes of color and value.
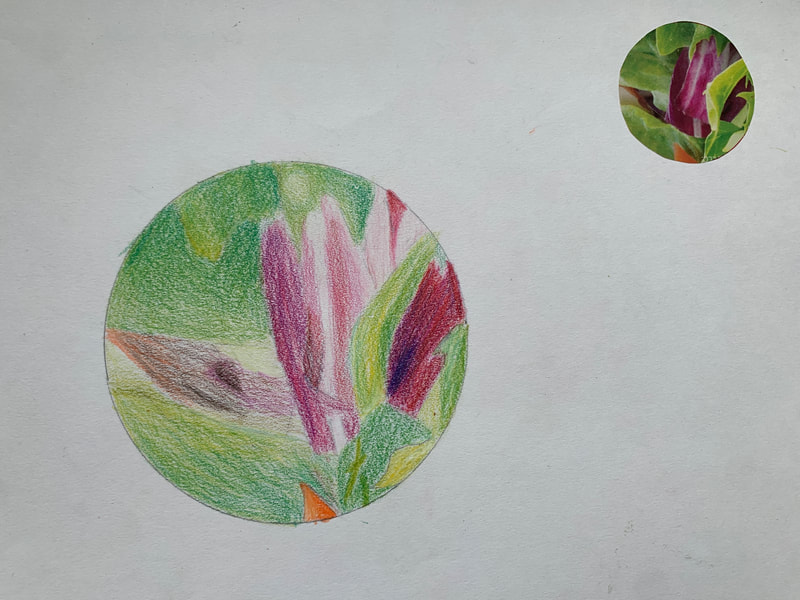
4. Begin by putting down local color first.
Procedure:
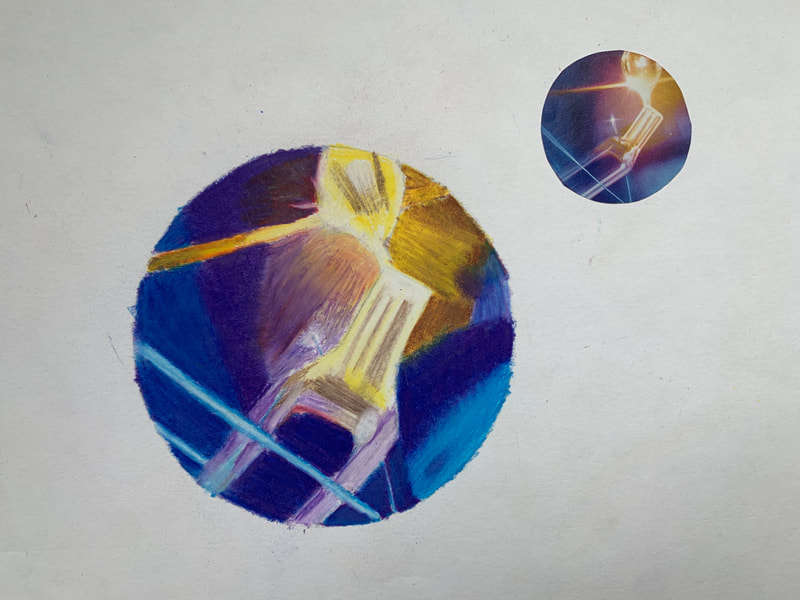
1. Choose a magazine circle cutout.
2. Glue the circle to your template paper with a glue stick.
3. Looking very closely at your photo, use an HB pencil to very lightly draw in the shapes within your design. **Note: if you use a dark pencil or mark it will interfere with your colored pencil colors. If you press too hard with your pencil you will carve little valleys into your paper and the colored pencil will not sit properly on the page, leaving white lines. Look for shapes of color and value.
4. Begin by putting down local color first.
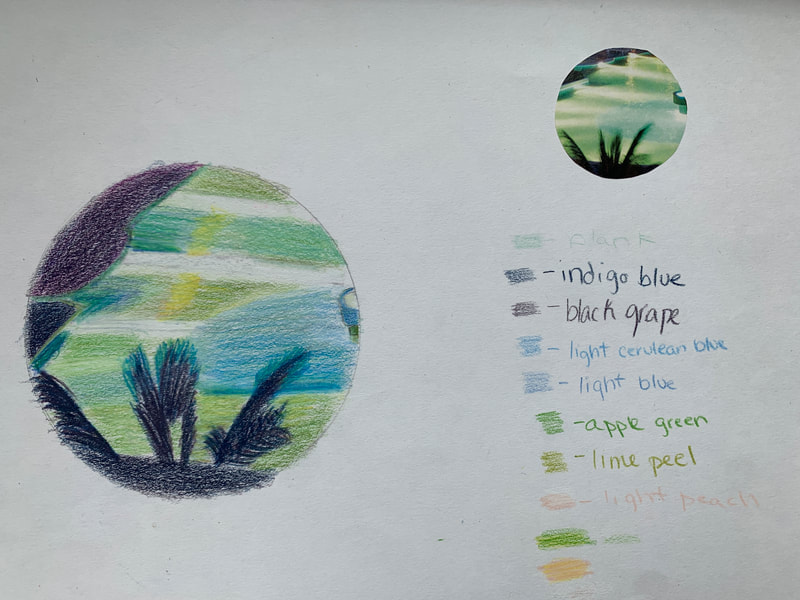
- The First Layer - lightly cover the white surface with the relevant local colors of the main shape and area.
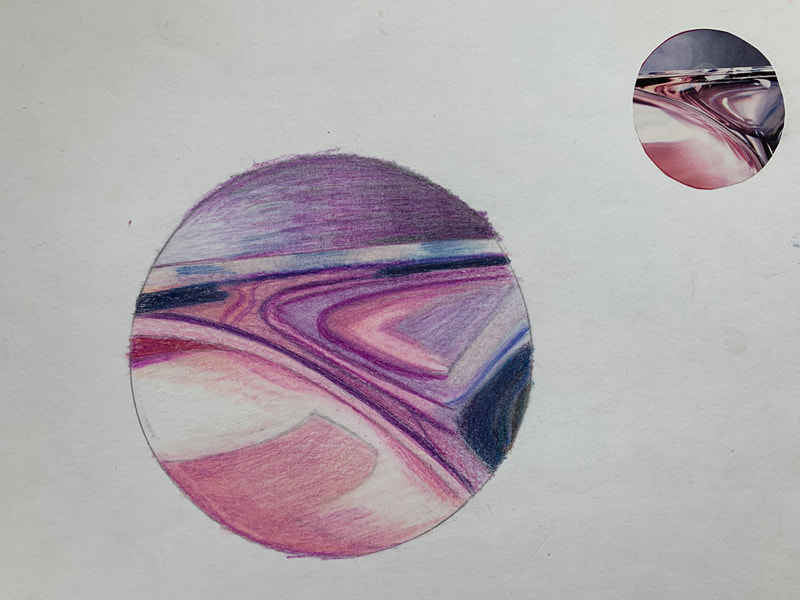
- The Second Layer - look for slight changes in hues and identify changes in color produced by lighting. lay down color in opposite direction from first to create a smooth, even tone. Begin to blend in additional colors such as darker/lighter hues of the local color or complementary colors such as adding green to red.
- Continue to build up color so that at least 80% of the paper is covered.
- Once you have achieved the correct color, value, and edge, you can press harder with each layer, especially if you want to burnish.